SSLの設定を有効化してサイトの通信を暗号化します
# vi /etc/apache2/sites-available/default-ssl.conf
2行目 管理者を設定
ServerAdmin webmaster@yut.work
31、32行目 取得したSSL証明書の保存場所を指定
SSLCertificateFile      /etc/letsencrypt/live/www.yut.work/cert.pem
SSLCertificateKeyFile   /etc/letsencrypt/live/www.yut.work/privkey.pem
41行目 コメントを解除して取得したチェインファイルに変更
SSLCertificateChainFile /etc/letsencrypt/live/www.yut.work/chain.pem
# a2ensite default-ssl
Enabling site default-ssl.
To activate the new configuration, you need to run:
  systemctl reload apache2
# a2enmod ssl
Considering dependency mime for ssl:
Module mime already enabled
Considering dependency socache_shmcb for ssl:
Enabling module socache_shmcb.
Enabling module ssl.
See /usr/share/doc/apache2/README.Debian.gz on how to configure SSL and create self-signed certificates.
To activate the new configuration, you need to run:
  systemctl restart apache2
# systemctl restart apache2
ルーターで443/tpcに通過許可、ufwでも許可する
# ufw allow 443/tcp
# ufw reload
サーバー以外の端末からhttpsにつながるかチェック(https://www.yut.work)
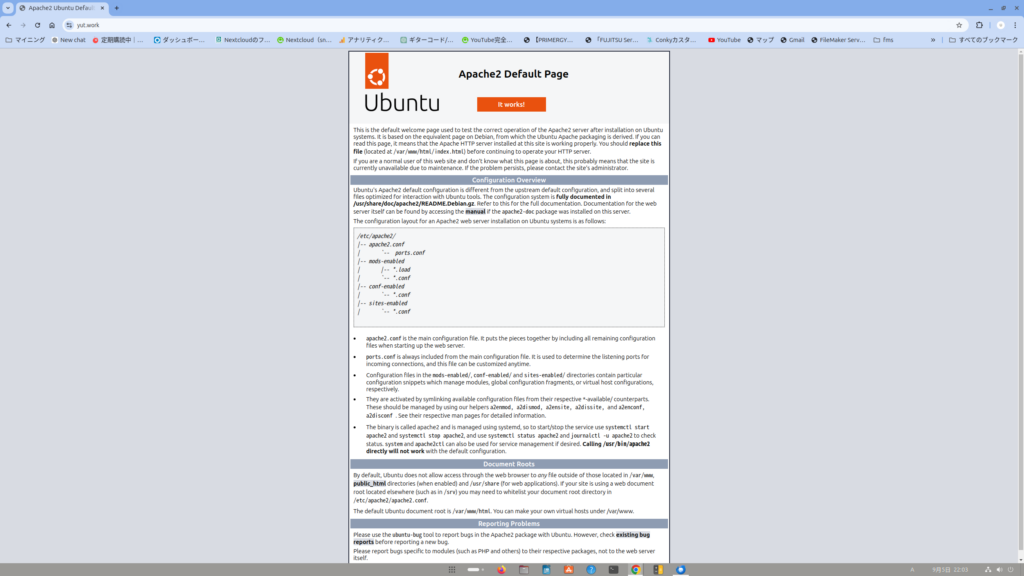
同一lan内(サーバーを設置している家)のwifiや有線接続したパソコンからだとクライアント端末のhostsファイルの設定が必要になります。つながらなくてもあせらないで!!
コメント